Introduction
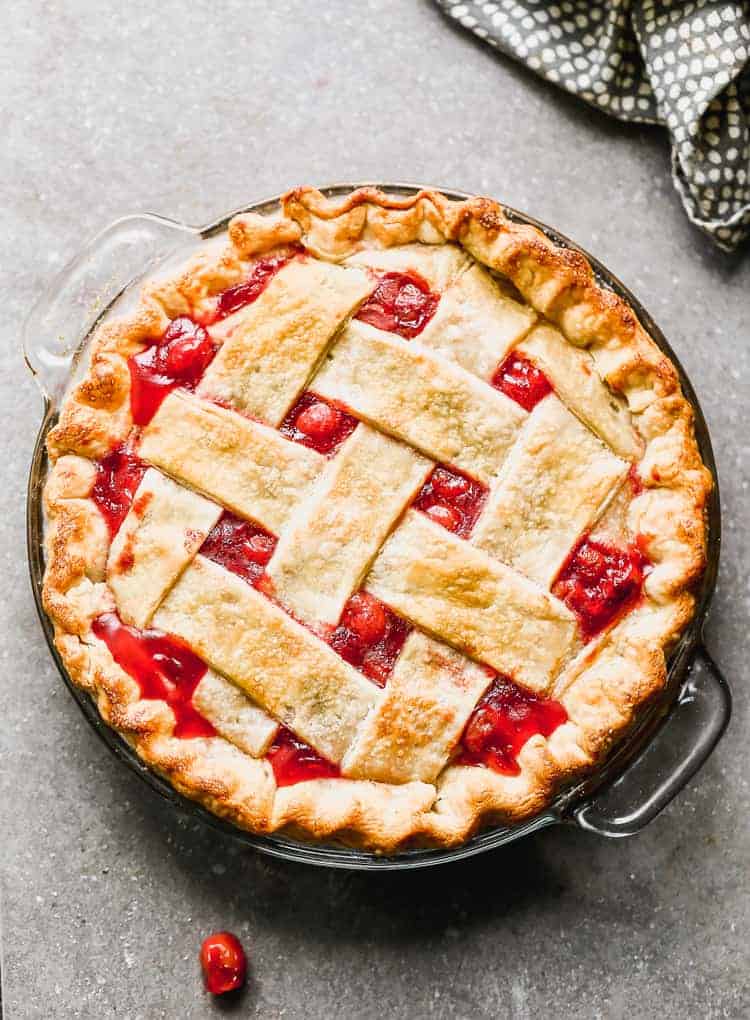
Nothing evokes a sense of nostalgia and comfort like a homemade cherry pie recipe. This classic dessert combines the sweet and tart flavor of fresh fruit with a buttery, flaky crust, making it a favorite for family gatherings and special occasions. In this blog, we’ll walk you through the steps of making these cookies from scratch to ensure every slice is a wonderful experience.

What Makes This Homemade Cherry Pie Recipe Special?
What makes this homemade cherry pie recipe stand out is that it uses fresh cherries and a simple yet effective technique to create a thick, jammy filling. The addition of vanilla and almond extracts enhances the cherry flavor, while a touch of lemon juice adds brightness. The result is a pie that is both delicious and visually beautiful.
Ingredients for Homemade Cherry Pie Recipe
To make this delectable pie, you will need:
- Pie Crust: Use your favorite homemade pie crust or try our recommended recipe.
- Fresh Cherries: 4 and 1/2 cups of pitted cherries (dark sweet or Rainier).
- Granulated Sugar: 2/3 cup to sweeten the filling.
- Cornstarch: 1/4 cup for thickening the filling.
- Lemon Juice: 1 tablespoon to balance the sweetness.
- Vanilla Extract: 1 teaspoon for added flavor.
- Almond Extract: 1/4 teaspoon for a hint of nuttiness.
- Unsalted Butter: 1 tablespoon, cut into small cubes, to dot on top.
- Egg Wash: 1 beaten egg mixed with 1 tablespoon of milk for a golden crust.
- Coarse Sugar: Optional, for sprinkling on top.
Steps to Make Your Homemade Cherry Pie
- Prepare the Pie Crust: Begin by making your pie crust. Chill the dough for at least 2 hours before rolling it out.
- Make the Filling: In a large bowl, combine pitted cherries, sugar, cornstarch, lemon juice, vanilla extract, and almond extract. Mix until well combined and set aside.
- Roll Out the Dough: On a floured surface, roll out one disc of dough into a circle about 12 inches in diameter. Place it in a 9-inch pie dish.
- Add the Filling: Spoon the cherry mixture into the crust, reserving any excess juices.
- Reduce the Juices: In a small saucepan, reduce the reserved cherry juices over low heat for about 3-4 minutes. Pour this thickened juice over the cherries and gently toss to combine.
- Dot with Butter: Add small cubes of butter on top of the filling for added richness.
- Prepare the Top Crust: Roll out the second disc of dough and cut it into strips for a lattice crust or simply cover the pie with a full crust. Seal the edges and cut slits for steam to escape.
- Brush and Sprinkle: Brush the top with the egg wash and sprinkle with coarse sugar if desired.
- Bake: Preheat the oven to 400°F (204°C) and bake the cookies for 20 minutes. Then reduce the temperature to 375°F (190°C) and bake for another 30-40 minutes, until the crust is golden brown and the filling is bubbling.
- Cool and Serve: Allow the pie to cool for at least 3-4 hours before slicing. This helps the filling set properly.
Tips for the Perfect Homemade Cherry Pie
- Choose the Right Cherries: Dark sweet cherries provide a rich flavor, while Rainier cherries add a touch of sweetness. Feel free to mix varieties for a more complex flavor profile.
- Use a Cherry Pitter: This tool makes the process of pitting cherries much quicker and cleaner.
- Don’t Skip the Cooling: Allowing the pie to cool completely before slicing ensures that the filling holds its shape and doesn’t run.
Conclusion
This homemade apple cider recipe is sure to be a dessert favorite. Its rich flavor and beautiful presentation make it perfect for any occasion, from summer barbecues to holiday gatherings. Enjoy it warm with a dollop of vanilla ice cream or chilled with whipped cream for a classic treat that everyone will love!
Click here to explore the delicious details of cherry pie on Wikipedia.
Stay ahead of the curve and discover the trendiest food items for 2024 by clicking here.